

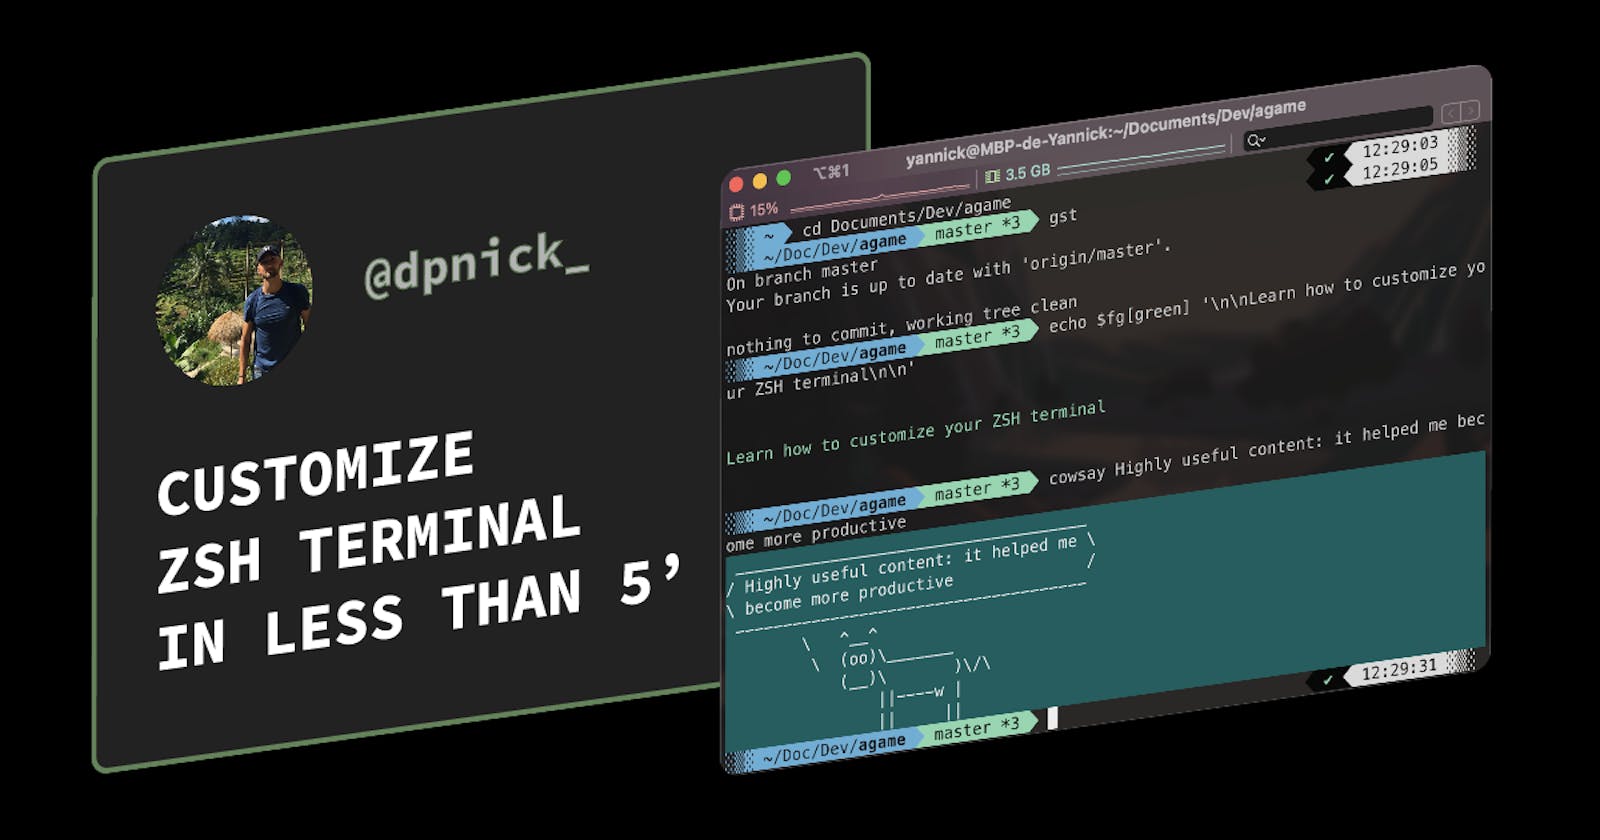


Hey friends, welcome to this quick tutorial 👋
Today, I'm gonna show you how I personally set up my ZSH terminal on my mac. At the end of this tutorial, you will be able to configure it according to your own needs/preferences.
Let's get started!
iTerm 2
iTerm 2 is a replacement for the default mac terminal app. It is totally free and brings a lot of very convenient features (like split panes, global search, triggers...) as well as multiple customization possibilities (we will see it later).
Start by downloading the app here and install it on your mac.
Configuration
Oh-my-zsh is an open-source framework that will help you managing your zsh configuration. It allows you to use built-in helpers, themes, plugins...
Install it using the following curl command:
sh -c "$(curl -fsSL https://raw.github.com/ohmyzsh/ohmyzsh/master/tools/install.sh)"
By default, oh-my-zsh comes bundled with the git plugin. It means you can use all these aliases. If you want to try, go to a git repository and run gst to get your current git status.
To add another plugin, choose one from this list. Then, in your .zshrc (located at your ~), find the line containing plugins=(git) and add the name of your newly selected plugin to the plugins array. Finally, do not forget to restart your terminal.
For example to add z and GitHub cli:
plugins=(
  # other plugins...
  git z gh
)
zis one of my favorite plugins, it allows you to easily navigate to your most visited directories.
Adding auto-complete (optional)
It is also possible to easily add command autocomplete based on your history. I personally use it so I'm gonna share it with you.
First, go to ~/.oh-my-zsh/custom/plugins and clone this repository:
git clone https://github.com/zsh-users/zsh-autosuggestions ${ZSH_CUSTOM:-~/.oh-my-zsh/custom}/plugins/zsh-autosuggestions
Then go back to your ~/.zshrc and add zsh-autosuggestions to the array like:
plugins=(
    # other plugins...
    zsh-autosuggestions
)
Restart your iTerm and you are done! Try navigating around, you should now have nice suggestions 🎉
Theme
Powerlevel10k allows you to highly customize your terminal theme using a "configuration wizard". This wizard will ask for your preferences and create the corresponding theme configuration.
Go ahead and install it:
git clone --depth=1 https://github.com/romkatv/powerlevel10k.git ~/powerlevel10k
echo 'source ~/powerlevel10k/powerlevel10k.zsh-theme' >>~/.zshrc
Then restart iTerm. At the opening, you should access the powerlevel10k wizard.
At first, it can ask you to install a few fonts, install them to access all customization properties.
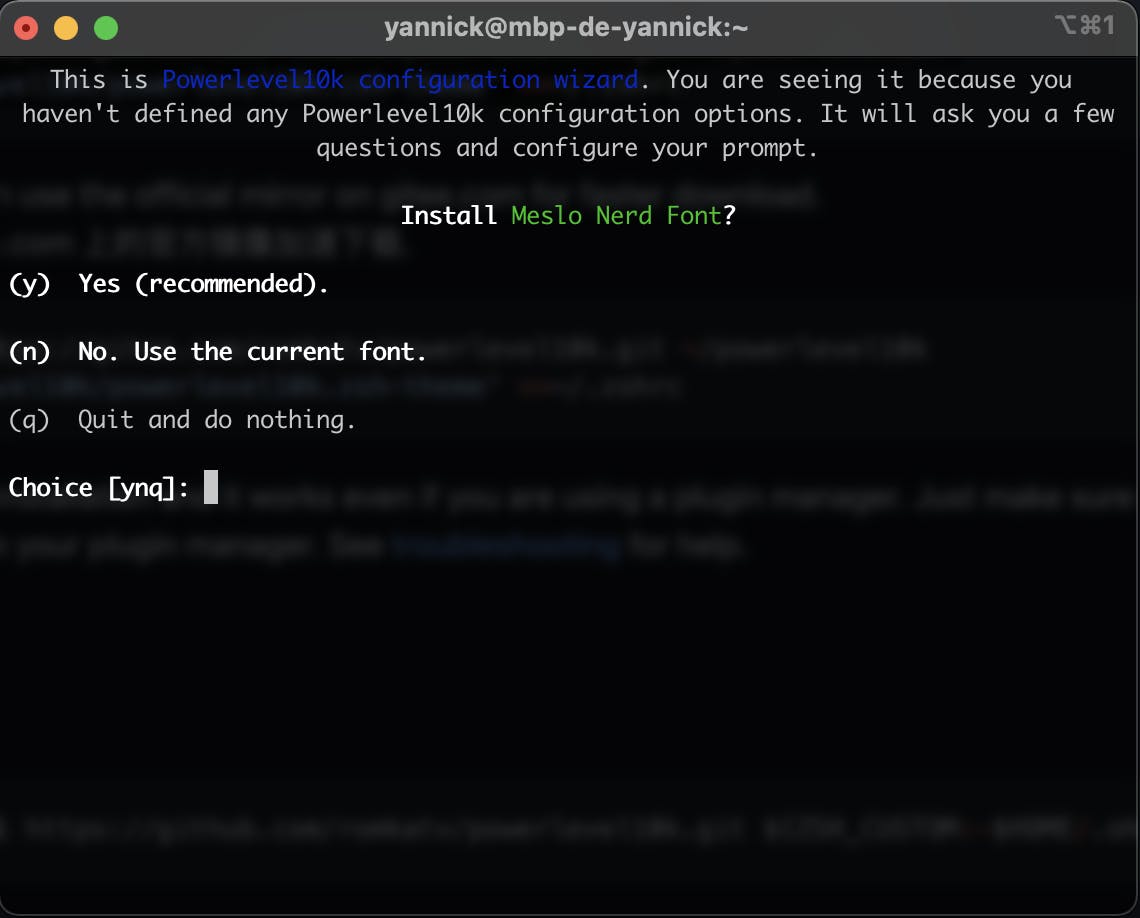
Once done, stop iTerm by using the shortcut ⌘Q and restart it. It should, then, ask you about your preferences as shown in the following video:
If the configuration wizard doesn't start automatically, use the command
p10k configure
💡 Enable English subtitles if you want to see my choices
iTerm Customization
Open iTerm preferences. Here you will be able to customize your terminal colors, opacity, cursor, widgets, and much more.
Let's start by finding the right colors under Profiles > Colors. You can either directly choose your own colors or use a preset. To find a preset that suits you go to the iterm2colorschemes site.
To export a preset, open it and export it with
save page as. The exported file will have the.itermcolors.txtextensions, rename it to keep only.itermcolors. Then import this file iniTermto be able to use it in thecolor presetsdropdown.
💡 At this time, my favorite color scheme is Guezwhoz. Do not hesitate to share yours with me in the comments below! You will maybe find my next favorite one 😄
In the following video, I show you how I changed:
- colors: to use an imported scheme
- cursor: to use blinking underscore
- background: to make it a little bit transparent (I like being able to see what's behind the terminal)
- widgets: to add some useful informations
💡 Just forgot to show one thing: in Colors I set Minimum Contrast to 50 to prevent white text on light colors etc.
Conclusion
Thanks for following this tutorial until the end! I hope your new terminal configuration will help you to improve your productivity as it does for me. As always, if you have any questions/suggestions do not hesitate to join me on Twitter I will be happy to talk with you all.
🙋♂️ In this tutorial, I tried including videos to make it shorter and easier to follow. What did you think about it? Did you like it?
See you next time! 👋
- Yannick